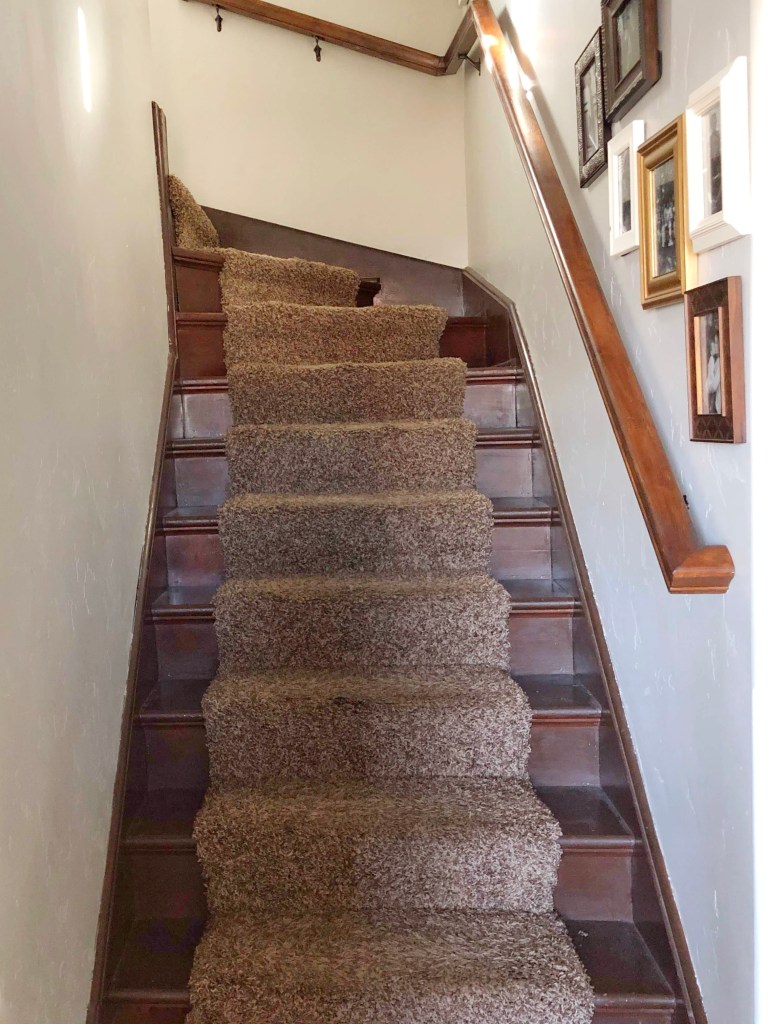
These brown shag stairs had been on my to do list to make over for years. So why not tackle the project during my 5th pregnancy? Certainly ripping up carpet is beyond the nesting phase. I assured my husband that it would be a quick project.
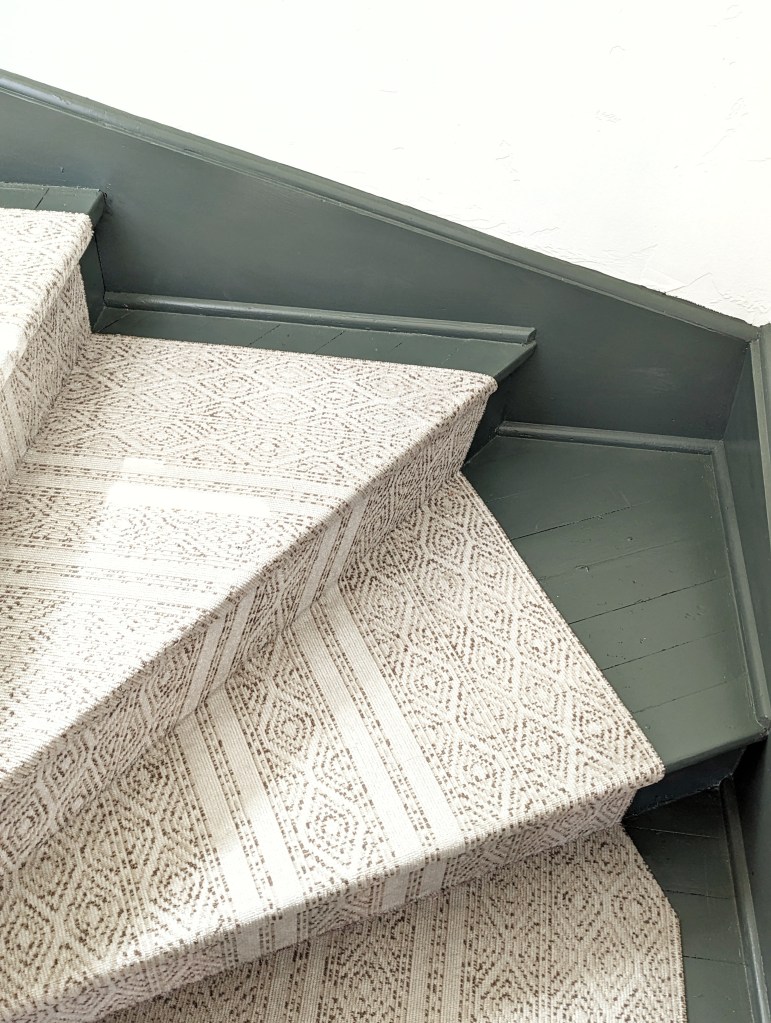
For the most part, it was. Until it wasn’t. The last final stair. You see, our stairs curve. I picked a runner with a stripe. On that last stair, when I couldn’t that blasted stripe to line up, I admitted that we should have done what Chris suggested and hired out the work. But since we were on the last stair, the call of shame to a handyman would have been too embarrassing.
Instead he and I tested the levels of frustration tolerable to our marriage. But we did it! And we will never do a curved staircase on our own again.
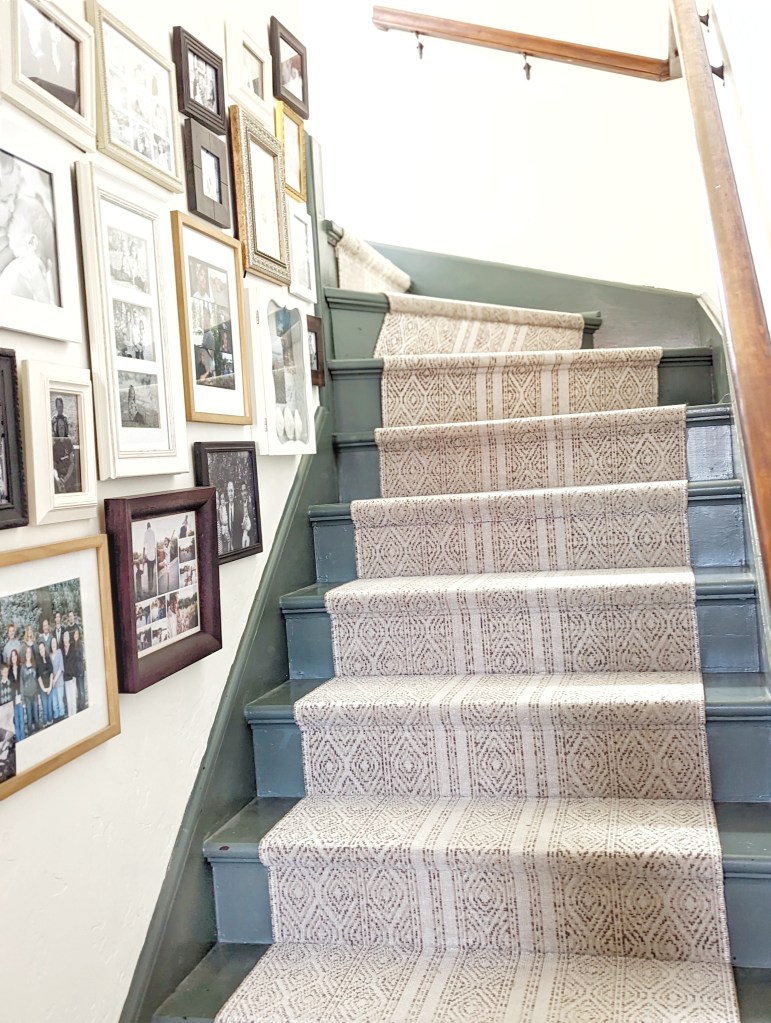
Let me show you the before and afters! and then I’ll give you some tips, just incase you are also looking for a project to test the communication in your marriage. I kid, I kid. If this had been a straight staircase, this would have been a breeze!
Here is what we started with. At first I was only going to paint the brown. But then I decided that the carpet should go too.


Tips:
1. If having a bare staircase is a concern, have your new stair runner before you remove your old carpet. Measure the height and width of a stair and multiply by the number of stairs. Plus the measurements of any landings. Add on a couple extra feet to give yourself a little extra just in case.
2. Out with the old. Rip up that old carpet! Remove staples. Prime stairs if needed. I didn’t as the paint I was using did not require it.
3. Paint choice. Choose a paint that will be durable. An enamel cabinet paint or something similar. Even though people should not be walking on the painted part, it will inevitably get chipped, especially if you have little ones.
4. When you apply the carpet, you will need to make sure the runner is staying centered. You can measure each side as you go up. Or get a block of wood that is the length you need it to be to keep the runner centered.
5. Start at the top! It is much easier to handle the runner and pull the carpet tight.
6. Nail under the nose of the stair and the back of the tread. This way you hit two spots on each stair and your runner will stay put. We put nails every couple of inches all the way across.
7. If you need to join two runners together, we found that doing this under the nose of the stair treads is a great place.
8. If your stairs are straight, using a stripe pattern is dreamy and oh so easy! If your stairs make a turn….may the odds be in your favor. After multiple cuts and ruining a runner, we managed. But it was tricky and in no way can I give instructions on how to do it.